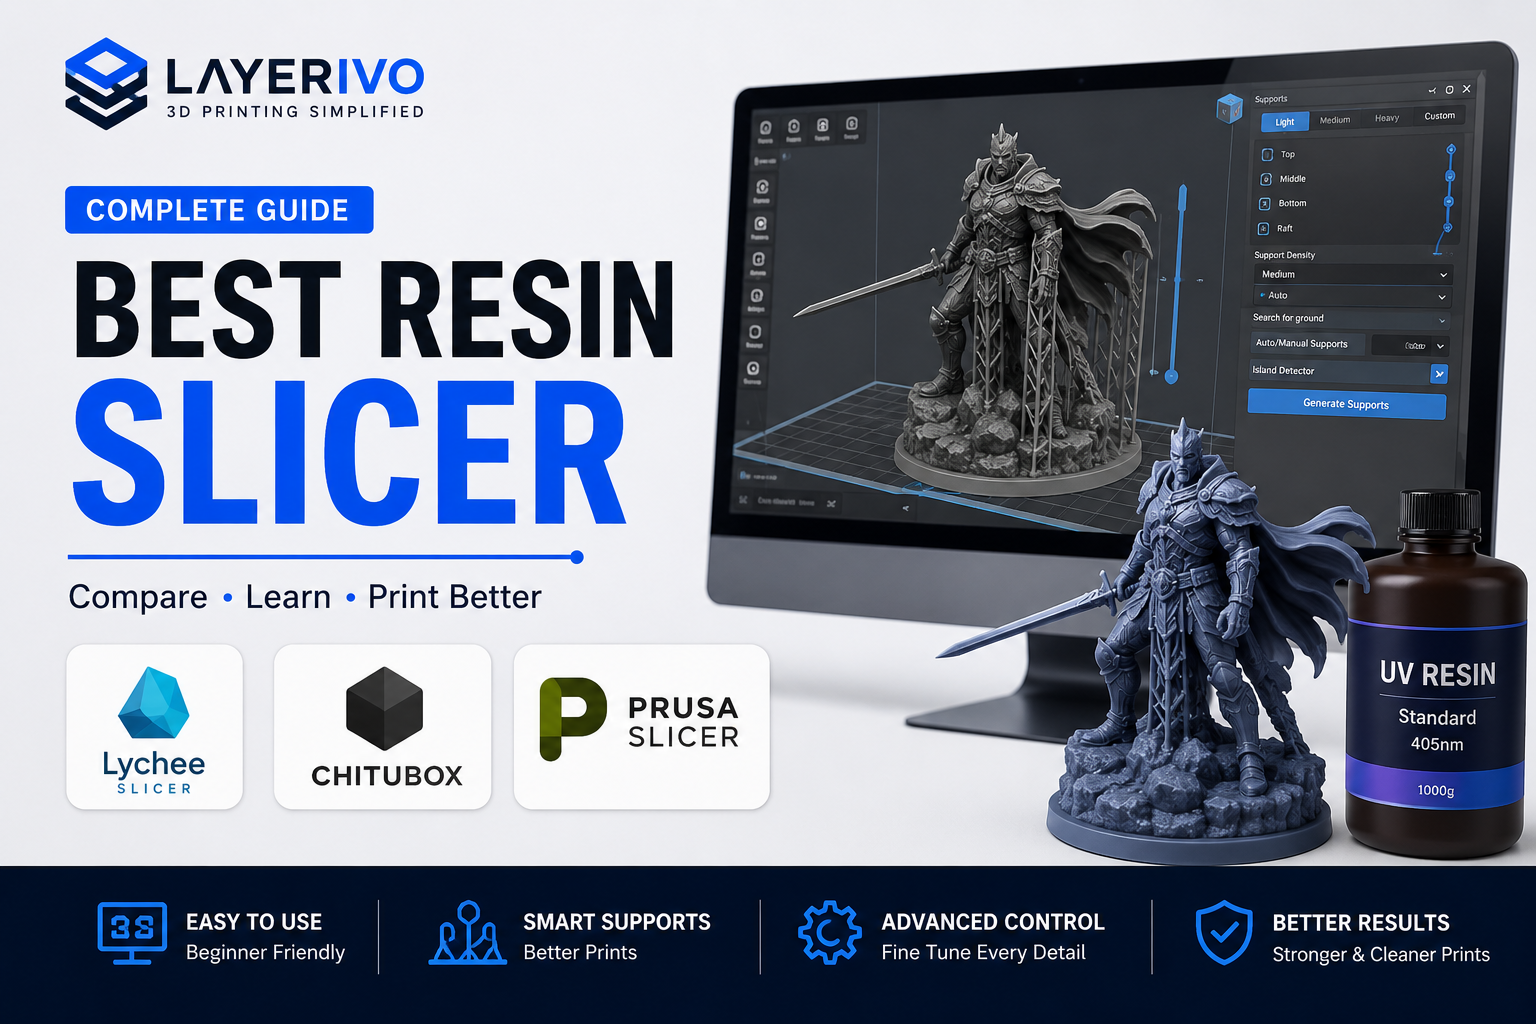
Choosing the right slicer is an important part of getting good results from a resin 3D printer. A slicer converts your 3D model into the instructions that the printer uses to create each layer, so the software you choose can affect print quality, supports, exposure settings, and overall workflow.
There are several resin slicers available, and each one offers different features, interfaces, and levels of control. Some are designed to be simple for beginners, while others provide advanced tools for experienced users.
In this guide, we will explain what to look for in the best resin slicer and compare the features that matter most when preparing resin 3D prints.
What Is a Resin Slicer?
A resin slicer is software that prepares a 3D model for printing on a resin 3D printer. It converts the model into a sequence of layers and generates the instructions needed to expose and cure each layer during the printing process.
Unlike a simple file conversion tool, a resin slicer gives you control over important printing settings such as layer height, exposure time, lift speeds, supports, and other parameters that can affect the final result.
If you are still deciding between resin and FDM printing, see our complete Resin vs FDM guide.
What Does a Resin Slicer Do?
Slices the 3D model into individual layers
Creates printer instructions
Controls layer height and exposure settings
Generates support structures
Allows model orientation and positioning
Provides print time and material estimates
Helps prepare the model for the specific printer
What Makes the Best Resin Slicer?
The best resin slicer should make it easy to prepare reliable prints while giving you enough control over important settings. A good slicer should also work well with your specific resin printer and provide tools that match your experience level.
Key Features to Look For
Easy-to-use interface
Wide printer compatibility
Reliable support generation
Exposure and layer settings
Model orientation tools
Island detection
Hollowing and drainage tools
Print preview
Estimated print time and material usage
Advanced settings for experienced users
A slicer with a clear interface and useful automated tools can make resin printing much easier for beginners, while advanced controls allow experienced users to fine-tune supports and exposure settings for more demanding models.
Automatic Supports vs Manual Supports
Support generation is one of the most important features in a resin slicer. Supports hold areas of the model that would otherwise fail during printing, and the quality of the support system can have a major effect on print reliability and surface quality.
Automatic Supports
Automatic support generation can save time by placing supports based on the model geometry and the slicer’s settings. It is especially useful for beginners, but automatically generated supports may still need to be inspected and adjusted before printing.
Manual Supports
Manual support placement gives you more control over where supports are added and how they connect to the model. Experienced users can often reduce unnecessary marks and improve print reliability by adjusting supports manually.
Automatic supports: Faster and easier for beginners
Manual supports: More control over support placement
Best workflow: Use automatic supports as a starting point and inspect them manually
Exposure Settings and Resin Profiles
Exposure settings are among the most important parameters in resin 3D printing. The exposure time determines how long the light source cures each layer, and the correct setting depends on the printer, resin, layer height, and light source.
Many resin slicers provide built-in resin profiles that contain recommended settings for specific materials and printers. These profiles can be a useful starting point, but you may still need to adjust them after testing your particular resin and printer combination.
Important Resin Settings
Layer height
Normal exposure time
Bottom exposure time
Bottom layer count
Lift speed
Retract speed
Waiting or rest time
Light-off delay
Using the correct resin profile can make the initial setup much easier, but calibration tests are still useful when you want to achieve the best balance between detail, dimensional accuracy, and print reliability.
Hollowing and Drainage Holes
Hollowing can reduce the amount of resin required for large models and can also make prints lighter. Many resin slicers include tools that automatically hollow a model and allow you to adjust the wall thickness.
When a model is hollowed, drainage holes are important because trapped liquid resin needs a way to escape. The location and size of these holes should be planned carefully to reduce the risk of uncured resin remaining inside the printed part.
When Should You Hollow a Model?
Large decorative models
Thick models with significant internal volume
Projects where reducing resin usage is important
Models where reducing weight is beneficial
Important Considerations
Use an appropriate wall thickness
Add suitable drainage holes
Check the hollowed model in the slicer preview
Make sure trapped resin can escape
Avoid hollowing parts that need a completely solid structure
Island Detection and Print Preview
Island detection is an important feature in resin slicing because unsupported areas can fail during printing. These areas may appear when a section of the model begins printing without being properly connected to the layers below it.
A good resin slicer should help identify potential islands before you start a print. The print preview can then be used to inspect the model layer by layer and verify that supports, hollow areas, and other details have been prepared correctly.
What to Check in the Preview
Unsupported islands
Support placement
Hollow areas
Drainage holes
Layer transitions
Model orientation
Potential printing problems
Taking a few minutes to inspect the sliced model before printing can prevent failed prints and reduce wasted resin.
Best Resin Slicers for Different Users
Different users may prefer different resin slicers depending on their printer, experience level, and the amount of control they want over the printing process. A beginner may value simplicity and automated tools, while an experienced user may prefer advanced support and exposure controls.
Best for Beginners
Beginners should look for a slicer with a clear interface, reliable printer profiles, automatic supports, and straightforward exposure settings. A simple workflow can make it easier to learn the basics without becoming overwhelmed by advanced options.
Best for Advanced Users
Advanced users may prefer a slicer that provides detailed control over supports, exposure settings, hollowing, lift speeds, and other parameters. More control can be useful when optimizing difficult models or experimenting with different resins.
Best for Multiple Printers
If you use several resin printers, printer compatibility becomes especially important. A good slicer should make it easy to switch between printer profiles and maintain separate settings for different machines and materials.
Popular Resin Slicers
Several resin slicers are widely used by 3D printing enthusiasts, and each one has different strengths. The best choice depends on your printer, the features you need, and how much control you want over the slicing process.
Lychee Slicer
Lychee Slicer is a popular option for resin printing and is known for its user-friendly interface, support generation tools, and wide range of printer and resin profiles. It offers features for both beginners and experienced users.
CHITUBOX
CHITUBOX is another widely used resin slicing application. It provides tools for model preparation, support generation, hollowing, drainage holes, and exposure settings, making it suitable for a wide range of resin printers.
PrusaSlicer
PrusaSlicer is primarily known for FDM printing, but it also supports certain resin workflows and can be useful for users who want a familiar slicer environment across different types of 3D printing.
For a more detailed guide to using PrusaSlicer, see our PrusaSlicer beginner’s guide.
You can learn more about PrusaSlicer and its available features on the official Prusa website.
Before choosing a slicer, check that it supports your specific resin printer and that the features you need are available in the version you plan to use.
How to Choose the Best Resin Slicer
The best resin slicer for you depends on your printer, experience level, and the type of models you usually print. Before choosing a slicer, focus on compatibility, ease of use, support tools, and the level of control available.
1. Check Printer Compatibility
The first thing to check is whether the slicer supports your specific resin printer. A slicer may offer excellent features, but those features are not useful if your printer profile or output format is not supported.
2. Look at Support Tools
Good support tools can make a major difference in resin printing. Look for features that allow you to generate automatic supports, adjust support density, and manually position or modify individual supports.
3. Consider Ease of Use
A clear interface can make the learning process much easier. Beginners should look for software that keeps common settings accessible while allowing advanced options to be introduced as their experience grows.
4. Check Advanced Features
Experienced users may benefit from advanced features such as detailed exposure controls, hollowing, drainage holes, island detection, custom supports, and detailed print previews.
Best Resin Slicer for Beginners
For beginners, the best resin slicer is usually one that provides a simple interface, reliable printer profiles, and easy-to-understand support and exposure settings. Too many advanced options can make the first steps more confusing, so a clear workflow is valuable.
Automatic support generation can also be useful for beginners, but it should not completely replace manual inspection. Before starting a print, check the supports, model orientation, islands, and other potential problem areas in the preview.
Beginner-Friendly Features
Simple and clear interface
Ready-to-use printer profiles
Automatic support generation
Easy exposure settings
Model orientation tools
Hollowing and drainage tools
Layer-by-layer preview
As you gain experience, you can gradually start using more advanced support, exposure, and model preparation settings to improve your prints.
How to Get the Best Results from a Resin Slicer
A good resin slicer can simplify the printing process, but the quality of the final result still depends on how the model is prepared. Taking time to orient the model correctly, configure supports, and check the sliced file can prevent many common printing failures.
Resin Slicing Checklist
Choose the correct printer profile
Select the correct resin profile
Orient the model carefully
Generate and inspect supports
Check for islands
Hollow large models when appropriate
Add suitable drainage holes
Review the sliced model layer by layer
Check exposure and lift settings
Before starting an important print, always inspect the final sliced model. A few minutes of preparation can save resin, reduce failed prints, and help you achieve more consistent results.
Resin Slicer: Quick Comparison
| Feature | Lychee Slicer | CHITUBOX | PrusaSlicer |
|---|---|---|---|
| Beginner Friendly | Excellent | Good | Good |
| Support Tools | Excellent | Excellent | Good |
| Resin Printer Support | Wide | Wide | More Limited |
| Advanced Controls | Excellent | Excellent | Good |
| Hollowing & Drainage | Yes | Yes | Yes, depending on workflow |
| Best For | Beginners & advanced users | Advanced resin workflows | Users who want one slicer ecosystem |
The best resin slicer depends on your printer and workflow. Lychee Slicer and CHITUBOX are strong choices for dedicated resin printing, while PrusaSlicer can be useful for users who want to work across different types of 3D printing.
Final Verdict: Which Resin Slicer Should You Choose?
There is no single resin slicer that is perfect for every user. The right choice depends on your printer, experience level, preferred workflow, and the amount of control you want over supports and printing settings.
For beginners, a slicer with a clear interface, reliable printer profiles, and easy support generation is usually the best starting point. More experienced users may prefer advanced tools that provide greater control over supports, exposure, hollowing, and other printing parameters.
Quick Recommendation
Choose Lychee Slicer for a user-friendly resin-focused workflow with powerful support tools
Choose CHITUBOX for extensive resin printing and model preparation features
Choose PrusaSlicer if you want to work with both FDM and supported resin workflows
Frequently Asked Questions
What is the best resin slicer for beginners?
For beginners, a resin slicer with a clear interface, reliable printer profiles, and easy support generation is usually the best choice. Lychee Slicer and CHITUBOX are both popular options to consider.
Is Lychee Slicer better than CHITUBOX?
Both Lychee Slicer and CHITUBOX offer powerful tools for resin printing. The better option depends on your printer, preferred interface, and the specific support and model preparation features you need.
Can you use PrusaSlicer for resin printing?
PrusaSlicer can support certain resin printing workflows and can be useful for users who want to work with different types of 3D printing. However, compatibility and available features depend on the specific printer and workflow.
What is the most important setting in a resin slicer?
Exposure settings are among the most important parameters because they affect how each layer is cured. However, support placement, model orientation, layer height, and lift settings also play important roles in successful resin printing.
Do resin slicers generate supports automatically?
Many resin slicers can generate supports automatically. However, automatic supports should always be inspected and adjusted when necessary because the slicer may not place every support exactly where the model requires it.
Do I need a different slicer for every resin printer?
Not necessarily. Many slicers support multiple resin printers through different printer profiles. The important thing is to confirm that your specific printer is supported and that the correct profile and output format are available.
Leave a Reply