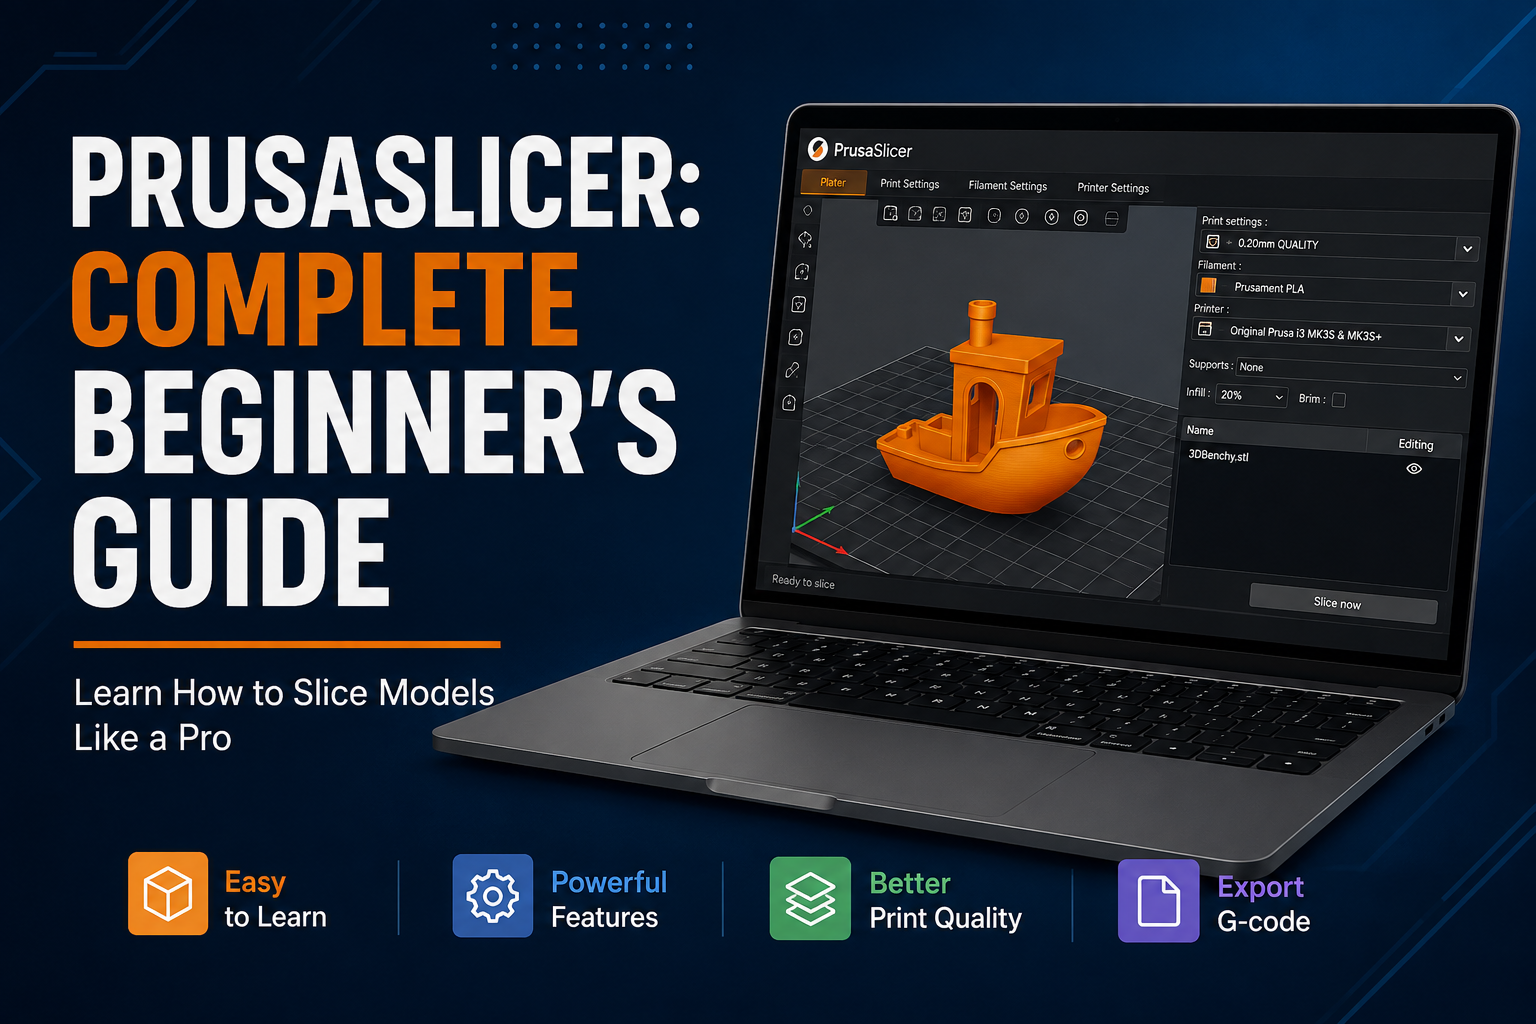
PrusaSlicer is a powerful 3D printing slicer that can turn a 3D model into the instructions needed by your printer. It was developed by Prusa Research and is widely used by both beginners and experienced 3D printing enthusiasts.
You can also learn more about PrusaSlicer on the official Prusa website.
Although PrusaSlicer offers many advanced settings, you do not need to understand everything at once. Learning the basic interface, printer profiles, filament settings, supports, and slicing workflow is enough to get started.
In this complete beginner’s guide, we will explain how PrusaSlicer works, how to prepare your first model, which settings matter most, and how to create reliable G-code for your 3D printer.
What Is PrusaSlicer?
PrusaSlicer is an open-source slicing software developed by Prusa Research. It converts 3D models into G-code and provides tools for preparing prints, configuring printer and filament settings, generating supports, and previewing the sliced model.
PrusaSlicer is designed primarily for FDM 3D printing and supports a wide range of printers and materials. It offers a simple workflow for beginners while also providing advanced settings for users who want more control over their prints.
If you are comparing different 3D printing technologies, see our complete Resin vs FDM guide.
What Can You Do with PrusaSlicer?
Import and position 3D models
Choose a printer profile
Select a filament profile
Adjust print settings
Generate support structures
Control infill and wall settings
Preview the sliced model
Export G-code for your printer
How to Install PrusaSlicer
PrusaSlicer is available for Windows, macOS, and Linux. The safest approach is to download it from the official Prusa website and install the version that matches your operating system.
Download PrusaSlicer from the official Prusa website
Choose the version for your operating system
Run the installer
Follow the installation instructions
Launch PrusaSlicer after installation
Complete the initial configuration
During the first setup, PrusaSlicer will ask you to select your printer and filament profiles. Choosing the correct profiles at this stage makes the rest of the workflow much easier.
PrusaSlicer First Setup
When you open PrusaSlicer for the first time, the configuration wizard helps you select the printer and material profiles you want to use. These profiles provide starting settings that can later be adjusted to match your specific printer and filament.
Select Your Printer
Start by selecting your 3D printer from the available profiles. If your exact printer is not listed, check whether the manufacturer provides a compatible profile or configuration file.
If you are still choosing your first 3D printer, see our guide to the best 3D printers for beginners.
Select Your Filament
Next, select the filament you plan to use, such as PLA, PETG, ABS, or TPU. The filament profile provides recommended starting parameters for temperatures and other printing settings.
Choose Your Print Settings
PrusaSlicer provides different levels of settings so beginners can start with a simpler interface and gradually access more advanced controls. Start with the basic settings and increase the level of control as you become more familiar with the software.
PrusaSlicer Interface Explained
The PrusaSlicer interface is divided into several areas that help you prepare, configure, and preview a 3D print. Understanding the main sections is enough to start using the software without getting overwhelmed by its advanced options.
Main Interface Areas
3D view: Used to position, rotate, scale, and inspect your model
Printer profile: Selects the printer you want to use
Filament profile: Selects the material and its recommended settings
Print settings: Controls layer height, infill, walls, speed, and other parameters
Plater: Shows the models currently placed on the build plate
Preview: Lets you inspect the sliced model layer by layer
Simple, Advanced, and Expert Modes
PrusaSlicer allows you to choose how many settings are displayed through different interface modes. Beginners can start with the simpler options, while Advanced and Expert modes expose additional controls for users who want to fine-tune their prints.
You do not need to change every available setting. For your first prints, focus on the printer profile, filament profile, layer height, infill, supports, and basic print settings.
How to Import and Prepare a 3D Model
The first step in preparing a print is importing your 3D model into PrusaSlicer. Common model formats such as STL, 3MF, and OBJ can be imported and placed on the virtual build plate.
Importing a Model
Open PrusaSlicer
Load your 3D model
Place the model on the build plate
Check its orientation
Adjust the size if necessary
Make sure the model fits within the printable area
Position, Rotate, and Scale
PrusaSlicer provides tools for moving, rotating, and scaling your model. Proper orientation can improve print quality, reduce the need for supports, and sometimes make the print stronger depending on the direction of the layers.
Before slicing, check that the model is correctly positioned on the build plate and that its size is appropriate for your printer. If the model contains multiple separate objects, you can also arrange them to make better use of the available build area.
Choosing Layer Height
Layer height determines the thickness of each printed layer and has a direct effect on print detail and printing time. Lower layer heights can produce smoother surfaces and more detail, while higher layer heights can reduce printing time.
Common Layer Heights
0.12 mm: Higher detail and smoother surfaces
0.16 mm: Good balance between detail and speed
0.20 mm: Common general-purpose setting
0.28 mm: Faster printing with more visible layer lines
For beginners, 0.20 mm is often a useful starting point for many standard FDM printers. Once you understand how layer height affects your prints, you can choose a lower or higher value depending on the model and the result you want.
Infill, Walls, and Top/Bottom Layers
Infill, walls, and top and bottom layers determine much of the internal structure and strength of a 3D printed part. PrusaSlicer gives you control over these settings so you can balance strength, material usage, and printing time.
Infill Percentage
Infill percentage controls how much of the inside of the model is filled. Lower infill uses less material and can reduce printing time, while higher infill can make a part stronger and heavier.
10–15%: Lightweight decorative models
20%: Good general-purpose starting point
30–50%: Stronger functional parts
Higher than 50%: Useful for specific applications where additional internal structure is needed
Wall Thickness
Wall thickness is often more important for part strength than simply increasing infill. Adding additional perimeters can make functional parts stronger while also improving the quality of the outer surfaces.
Top and Bottom Layers
Top and bottom layers create solid surfaces on the model. Increasing the number of these layers can help prevent gaps and improve the appearance and strength of the top and bottom surfaces.
Supports in PrusaSlicer
Supports are used to hold overhangs and other parts of a model that cannot be printed reliably without additional material underneath them. PrusaSlicer provides automatic support generation as well as settings that allow you to control where and how supports are created.
When Do You Need Supports?
Large overhangs
Bridges that exceed the printer’s capabilities
Parts suspended above the build plate
Complex model geometries
Areas that do not have enough material underneath them
How to Reduce Unnecessary Supports
Good model orientation can reduce the amount of support material required. Rotating the model can sometimes improve overhangs, reduce support marks, and make the print easier to remove from the build plate.
Before printing, use the PrusaSlicer preview to inspect the support structures and make sure important overhangs are adequately supported. Automatic supports are a useful starting point, but they should still be checked manually.
Print Speed and Temperature Settings
Print speed and temperature have a major effect on the quality and reliability of an FDM print. PrusaSlicer provides separate settings for different parts of the print, allowing you to balance printing time, surface quality, and material performance.
Print Speed
Print speed determines how quickly the printer moves while depositing filament. Higher speeds can reduce printing time, but they may also require higher temperatures and careful tuning to maintain good quality.
Nozzle Temperature
The correct nozzle temperature depends on the filament you are using. PLA, PETG, ABS, and TPU each have different recommended temperature ranges, so use the filament manufacturer’s specifications as your starting point.
For a closer look at choosing the right filament, see our guide to the best 3D printer filament for beginners.
Bed Temperature
The heated bed temperature can affect first-layer adhesion and overall print reliability. A suitable bed temperature helps the first layer adhere properly while reducing the risk of warping or other adhesion problems.
When changing to a new filament, start with the manufacturer’s recommended settings and make small adjustments based on test prints rather than changing several settings at once.
How to Slice a Model in PrusaSlicer
Once your model, printer, filament, and print settings are ready, you can slice the model and generate the file needed by your 3D printer. PrusaSlicer calculates the toolpaths and converts the model into layers based on the settings you selected.
Step-by-Step Slicing Workflow
Import your 3D model
Select the correct printer profile
Select the correct filament profile
Choose your print settings
Position and orient the model
Add supports if necessary
Check the model in Preview
Click Slice now
Review the estimated print time and filament usage
Export the generated G-code
Check the Preview Before Printing
The Preview screen lets you inspect the generated toolpaths layer by layer. Check the first layer, walls, infill, supports, and other important areas before sending the G-code to your printer.
If something looks wrong in the preview, return to the relevant settings and slice the model again. This simple check can help prevent wasted filament and failed prints.
Understanding G-Code and Exporting Your File
G-code is the set of instructions that tells your 3D printer how to move, heat, and deposit material while creating the model. After PrusaSlicer finishes slicing your model, it generates G-code based on your selected printer, filament, and print settings.
How to Export G-Code
Slice the model
Review the Preview
Check the estimated print time and filament usage
Make sure the correct printer profile is selected
Save or export the G-code
Transfer the file to your 3D printer
The exact method for transferring G-code depends on your printer. Some printers use an SD card or USB drive, while others can receive files over a network or through a connected computer.
Always Check the Printer Profile
Using the wrong printer profile can result in incorrect dimensions, unsuitable temperatures, or other problems. Before exporting G-code, verify that the selected profile matches the printer you are actually using.
Useful PrusaSlicer Settings for Beginners
PrusaSlicer includes a large number of settings, but beginners only need to understand a small group of them to start producing reliable prints. Once you become comfortable with the basics, you can gradually experiment with more advanced options.
Layer Height
Layer height affects both print detail and printing time. A lower layer height generally produces more detail, while a higher layer height can make the print faster.
Infill
Infill controls the internal structure of the printed object. A moderate infill percentage is usually enough for general-purpose prints, while functional parts may benefit from higher infill depending on their intended use.
Perimeters
Perimeters, also called walls, form the outer structure of the model. Increasing the number of perimeters can improve strength and surface quality without relying only on higher infill.
Supports
Supports provide temporary structures under overhangs and other difficult areas. Use them when necessary, but try to orient the model in a way that reduces unnecessary support material.
Brim and Skirt
A skirt creates lines around the model without touching it and can help prime the nozzle. A brim extends from the model’s first layer and can improve bed adhesion, especially for models with a small contact area.
Common PrusaSlicer Problems and How to Fix Them
Most PrusaSlicer problems are related to incorrect profiles, unsuitable print settings, model preparation, or printer calibration. Checking the sliced preview and changing one setting at a time can make troubleshooting much easier.
The Model Does Not Fit on the Build Plate
If the model extends outside the printable area, check its scale and position in the 3D view. You can also rotate or resize the model to make it fit within the available build volume.
Too Many Supports
If PrusaSlicer generates more supports than necessary, try changing the model orientation or adjusting the support settings. Better orientation can often reduce support material while maintaining reliable overhangs.
Poor Bed Adhesion
Poor first-layer adhesion is usually related to bed preparation, first-layer settings, bed temperature, or printer calibration rather than the slicer alone. Check these factors before changing more advanced PrusaSlicer settings.
Unexpected Print Results
If the printed model does not match the preview, first verify that the correct printer and filament profiles were selected. Then check the G-code, printer settings, and calibration before making further changes.
When troubleshooting, change one setting at a time and test the result. This makes it easier to understand which adjustment solved the problem.
PrusaSlicer Tips for Better Prints
PrusaSlicer gives you a great deal of control over the printing process, but good results usually come from making small, controlled adjustments rather than changing many settings at once.
Start with Reliable Profiles
Start with the recommended printer and filament profiles whenever possible. These provide a useful baseline and make troubleshooting easier when you are learning how your printer behaves.
Use Calibration Tests
Small calibration prints can help you tune important settings such as temperature, flow, retraction, and first-layer performance before committing to a long print.
Always Inspect the Preview
Do not rely only on the estimated print time or the appearance of the model in the 3D view. Inspect the sliced preview to make sure the walls, infill, supports, and first layer look correct.
Save Settings That Work
When you find settings that consistently produce good results, save them as a profile or preset. This can save time and give you a reliable starting point for future prints.
The more you use PrusaSlicer, the easier it becomes to understand which settings have the greatest effect on your particular printer and filament.
Frequently Asked Questions
Is PrusaSlicer good for beginners?
Yes. PrusaSlicer is suitable for beginners because it provides a straightforward workflow while also allowing users to access more advanced settings as they gain experience.
Is PrusaSlicer free to use?
PrusaSlicer is open-source software and can be used without paying for a software license. It is available for common desktop operating systems.
What files can PrusaSlicer open?
PrusaSlicer supports common 3D model formats such as STL, 3MF, and OBJ. The exact workflow can vary depending on the model and project.
What is the best layer height in PrusaSlicer?
There is no single best layer height for every print. A setting such as 0.20 mm is a useful general-purpose starting point, while lower layer heights can provide more detail and higher values can reduce printing time.
Does PrusaSlicer generate supports automatically?
Yes. PrusaSlicer can generate support structures automatically, and users can adjust the support settings when more control is needed.
What is G-code in PrusaSlicer?
G-code is the set of instructions generated by the slicer that tells the 3D printer how to move, heat, and deposit material. PrusaSlicer creates G-code based on your selected printer, filament, and print settings.
Leave a Reply